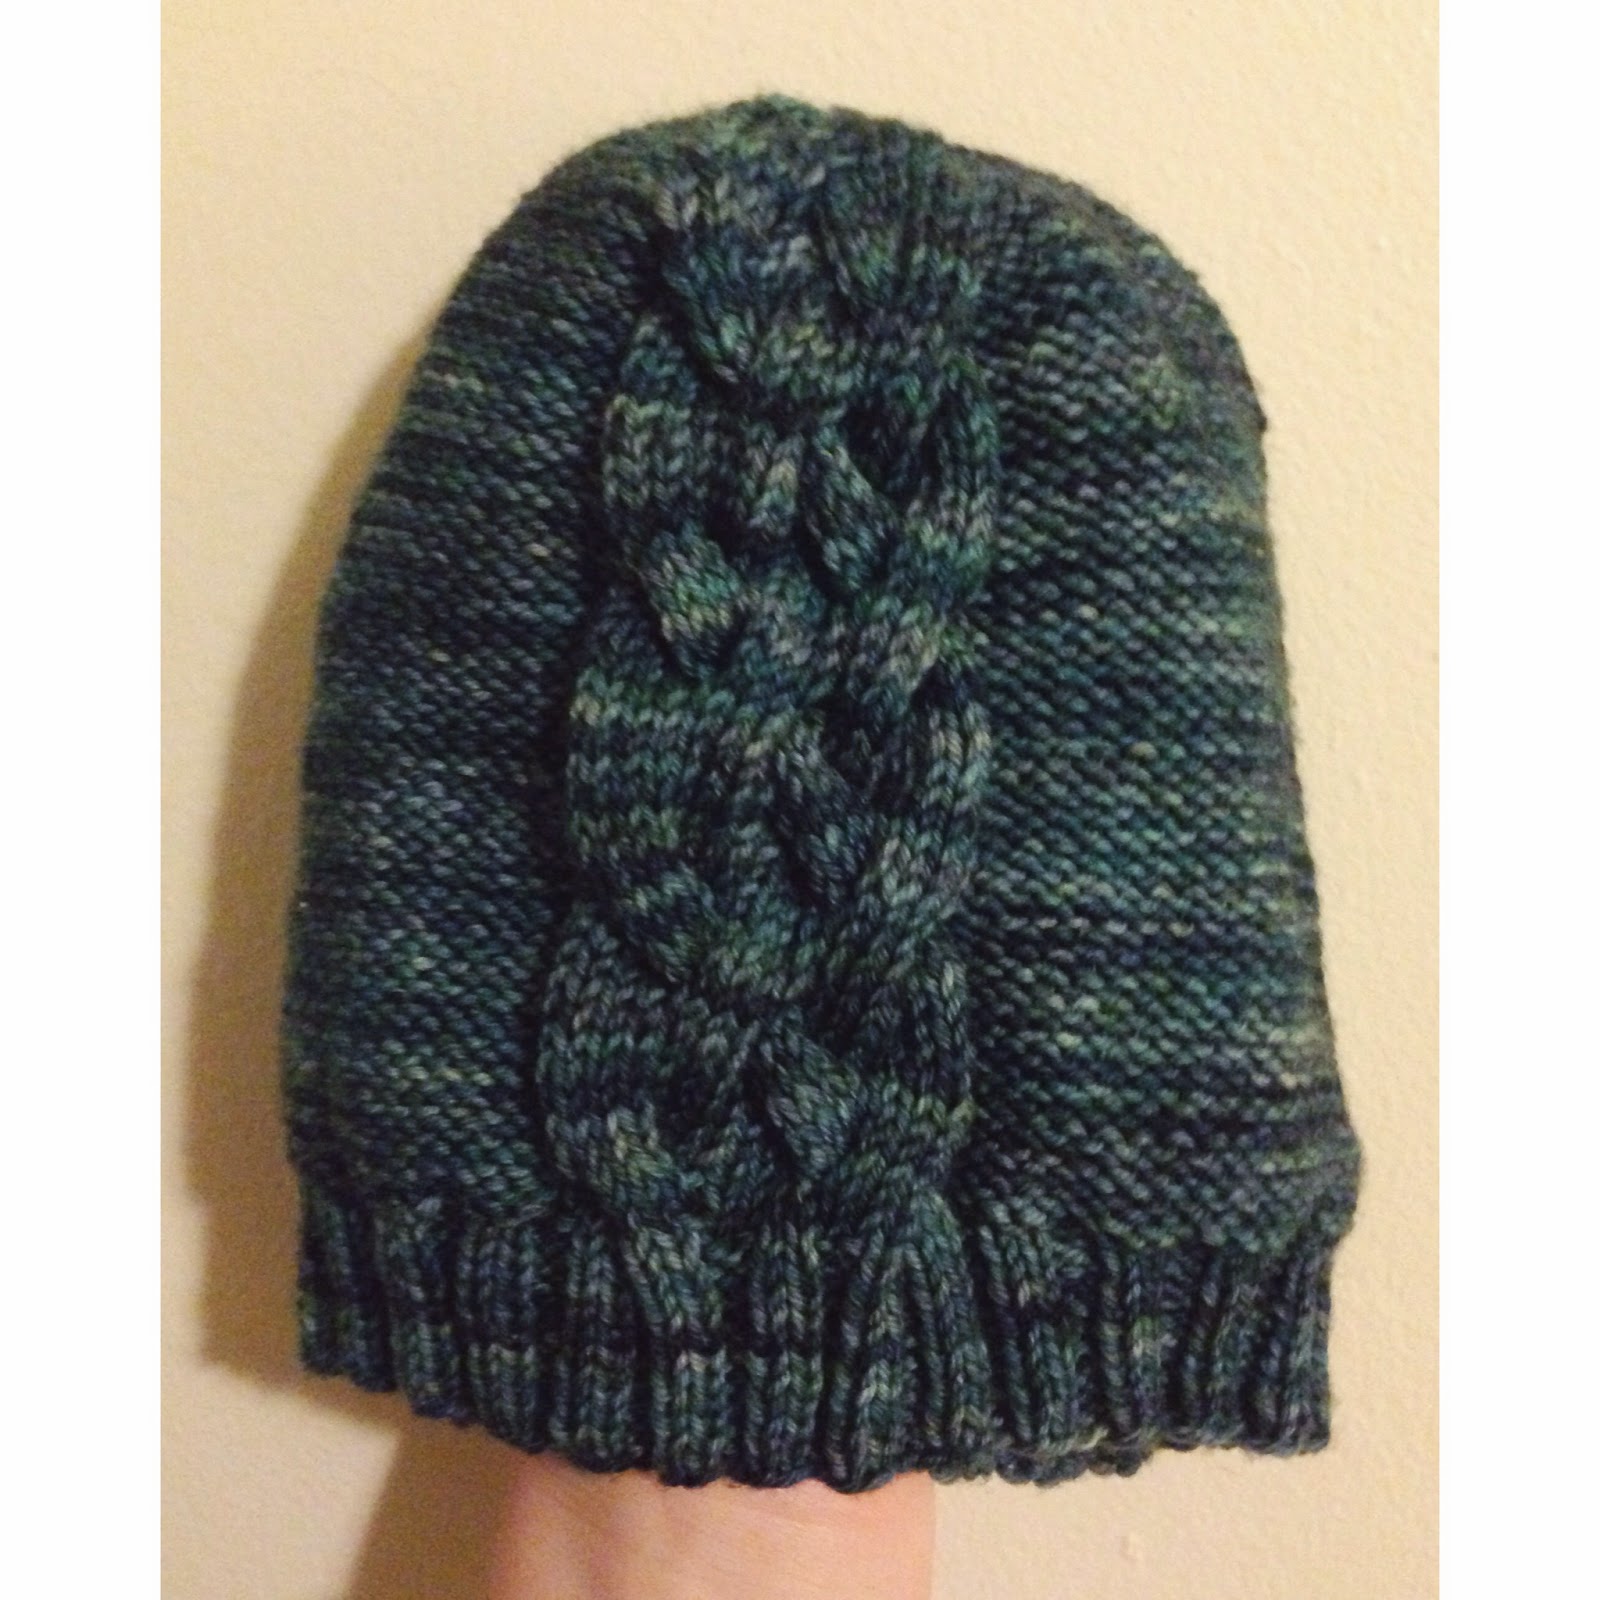
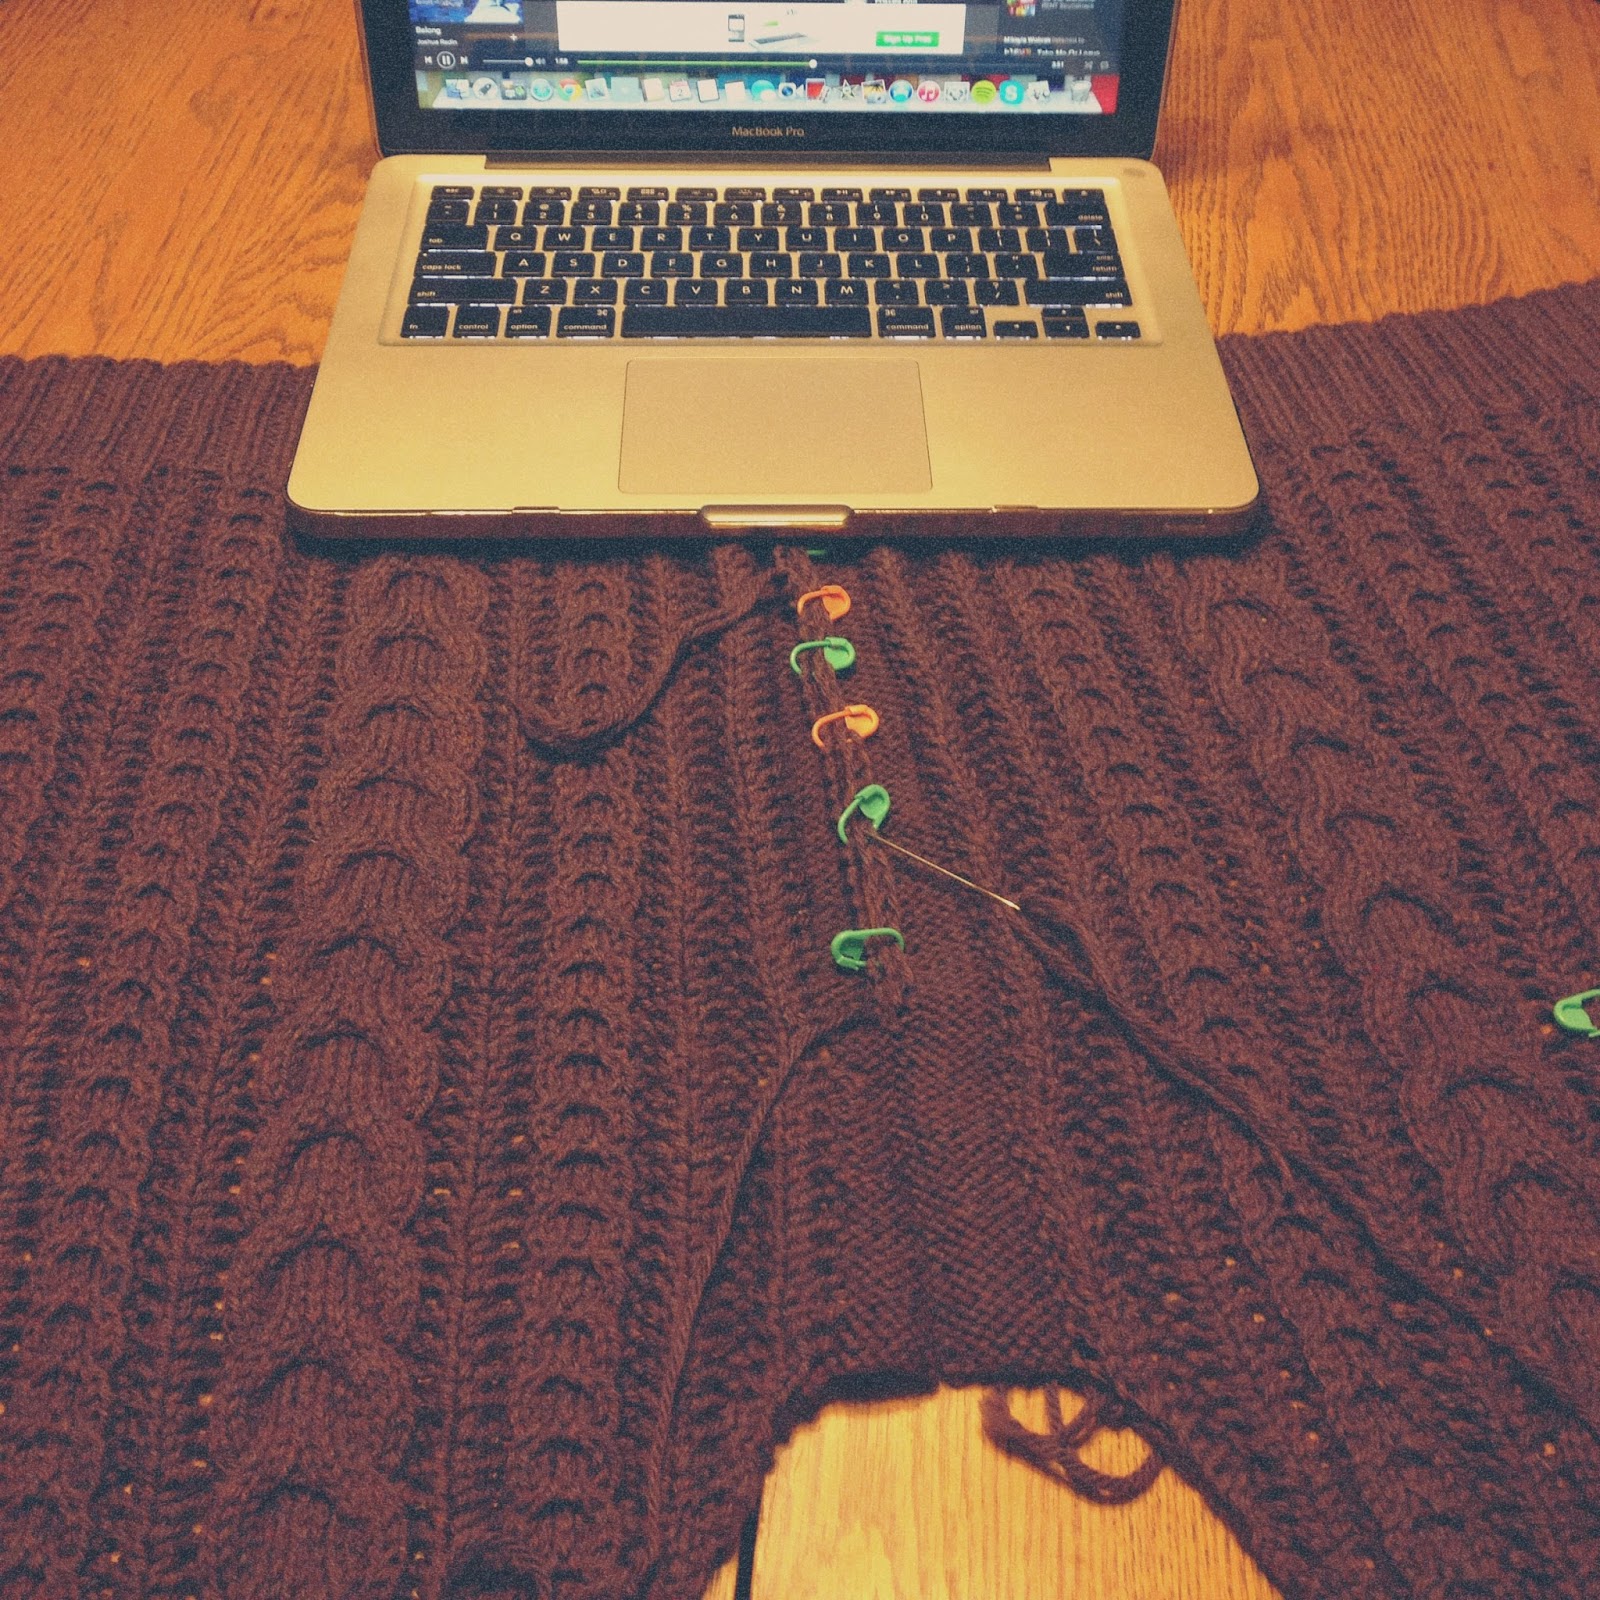
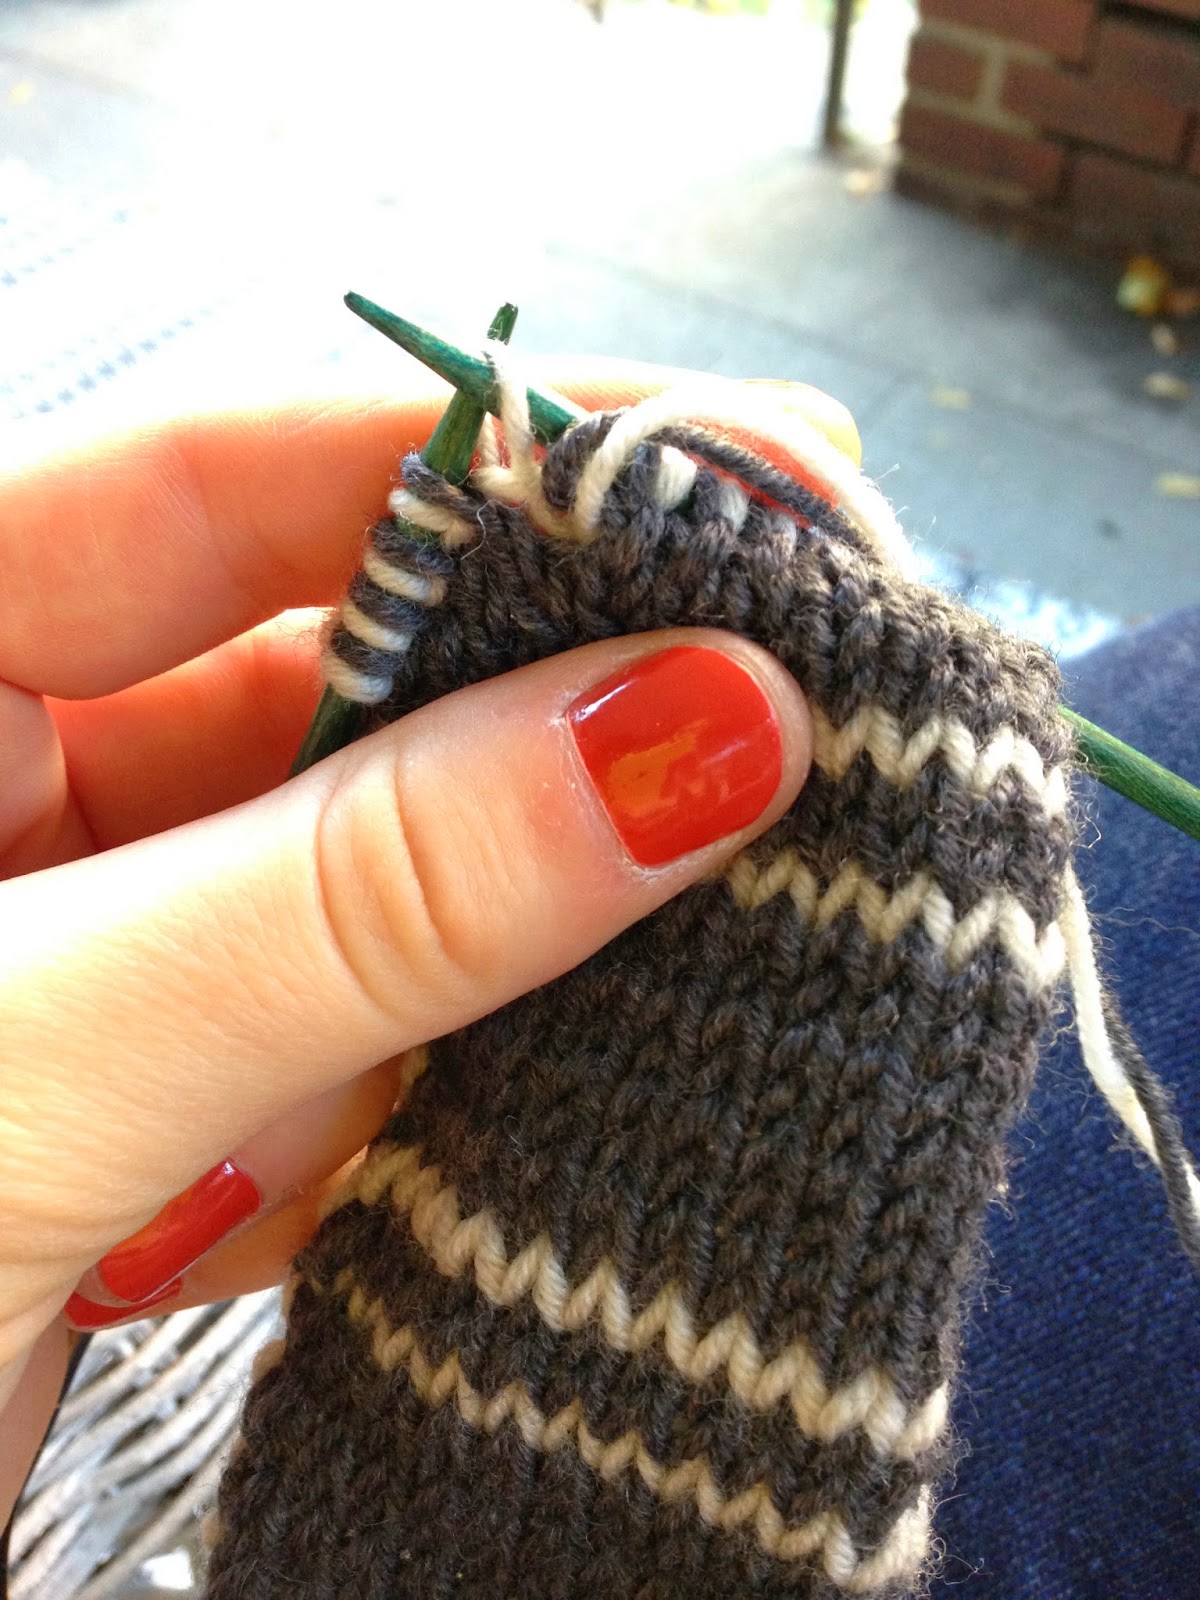
At the moment I'm working on a pair of men's ribbed socks for my guy! I'm using Cascade Heritage yarn, and love the tweedy look. I am currently on the second sock, and making great progress; also thinking of putting this simple pattern on ravelry for all my fellow sock knitters. 


Cheers!
Kylen

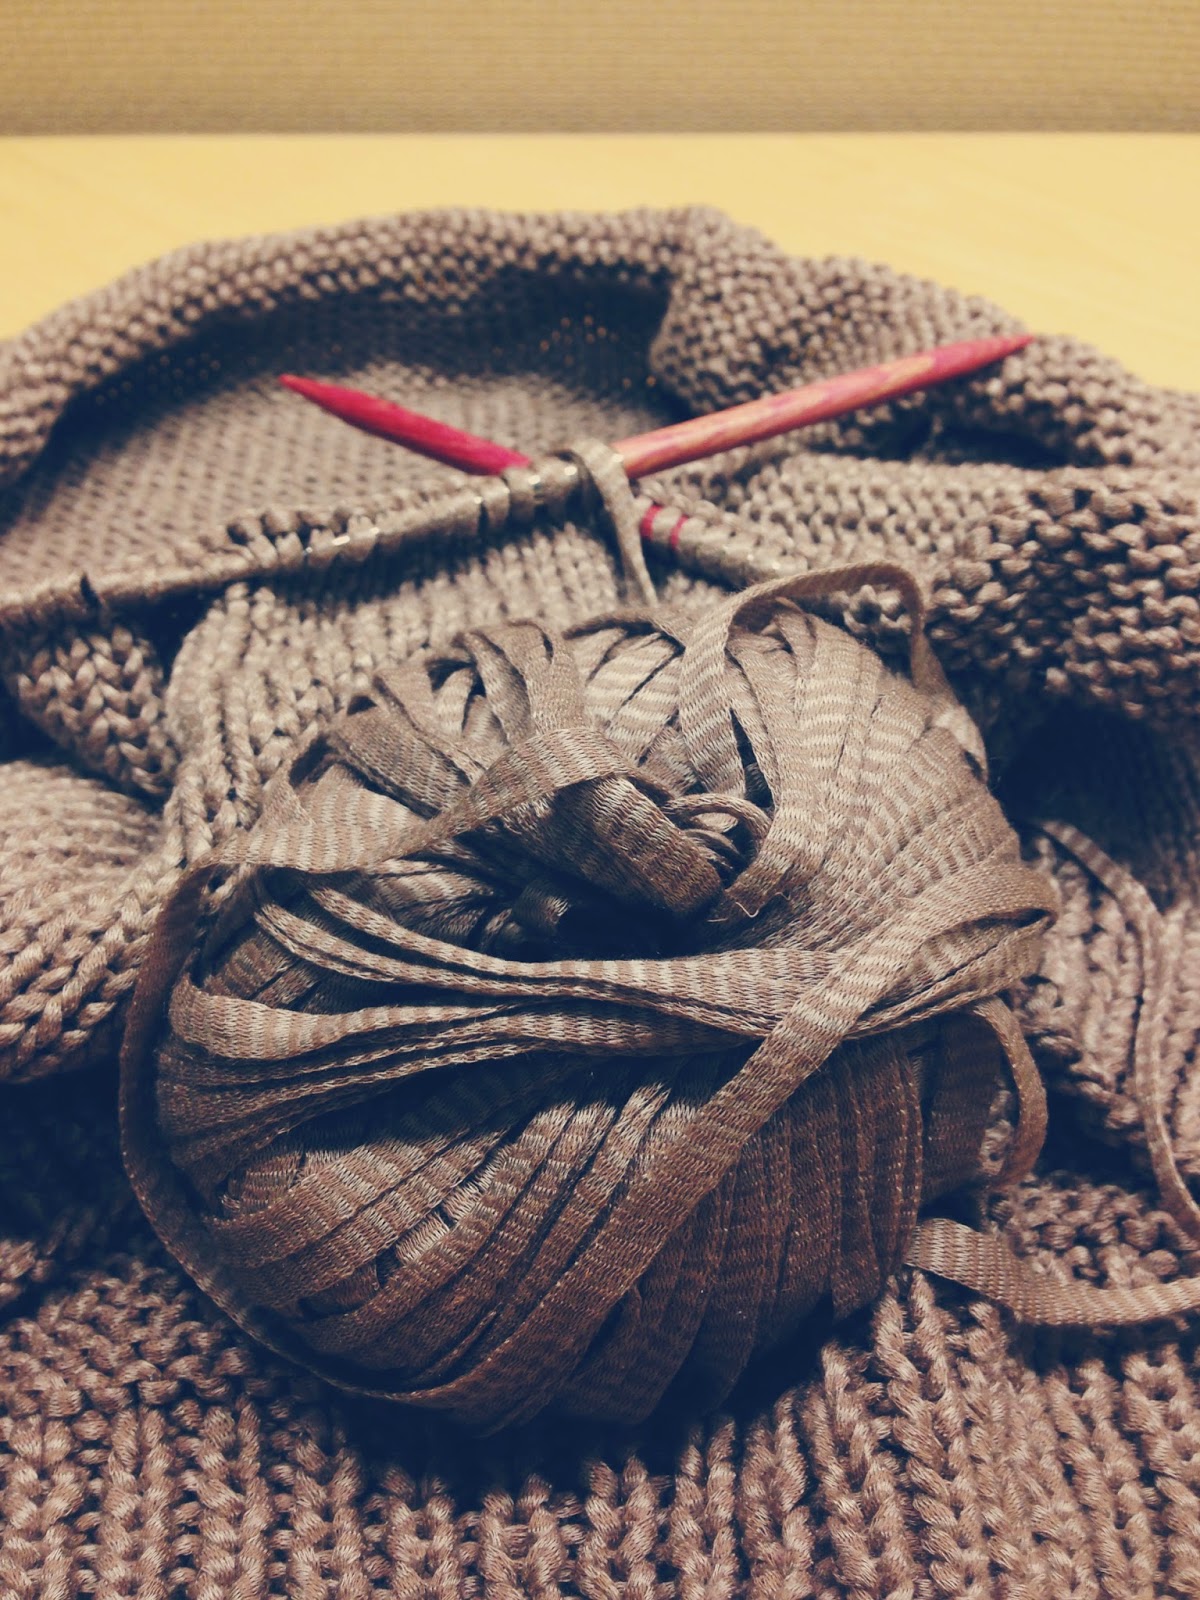
I am currently knitting Togue Pond by Pam Allen in preparation for a 3-part class I'll be teaching this summer! I am using Rowan's Cotton Lustre which is a joy to knit with! It looks like ribbon and is so soft. 


Are you knitting anything summery?!


Kylen


This hat matches these fingerless mitts. It was also raffled off to raise money for Cystic Fibrosis. I love the five-stranded braided cable! Fits like a beanie.

MATERIALS:
1 skein (150 yds) of dk weight yarn (I used Malabrigo Arroyo in 855 Aguas)
16" circular needles, sizes 4 (3.5 mm) and 6 (4.0 mm)
1 set dpns in size 6 (4.0 mm)
cable needle
tapestry needle
2 stitch markers

PATTERN:
With smaller circular needles, CO 108 sts and join in round
Work in 2x2 rib (k2, p2 around) until work measures 1.25"
Switch to larger circular needles, placing a stitch marker to mark the beg of row
Next row: k12, m1, k8, p4, m1 *(p12, m1), repeat from * until end of row (117 sts)
K 20 sts, pm, purl to end of row
Your cable pattern will be worked over the first 20 sts of the row, between the stitch markers

CABLE PATTERN:
Row 1: C8B, k4, C8F
Rows 2, 3, 4: k20, purl to end
Row 5: K4, C8F, k8
Rows 6, 7, 8: k20, purl to end
Row 9: K8, C8B, k4
Rows 10, 11, 12: k20, purl to end

Work cable pattern 3 times.

DECREASE: cable decreases are in [ ]
Place 6 markers on hat so that stitches are divided as follows: 20, 19, 20, 19, 20, 19.
**Use a different colored marker for the beginning of your row.
Row 1: [C8B, k4, C8F], purl until end of row
Row 2: [k2tog, k16, ssk], *(p2tog, purl to 2 sts before marker, ssp), rpt from * to end of row
Row 3: [k18], purl until end of row
Row 4: [k3, k2tog, k8, ssk, k3], *(p2tog, purl to 2 sts before marker, ssp), rpt from * end end of row
Row 5: [k3, place 3 sts onto cn, hold front, k4 from left needle, knit 3 from cn, k6], purl until end of row
Row 6: [k2tog, k3, k2tog, k7, ssk], *(p2tog, purl to 2 sts before marker, ssp), rpt from * to end of row
Row 7: [k13], purl until end of row
Row 8: [k5, k2tog, k2, ssk, k2], *(p2tog, purl to 2 sts before marker, ssp), rpt from * to end of row
Row 9: [k4, place 3 sts onto cn, hold front, k2 from left needle, knit 3 from cn, k2], purl until end of row
Row 10: [k2tog, k7, ssk], *(p2tog, purl to 2 sts before marker, ssp), rpt from * end end of row
Row 11: [k3, k2tog, k2tog, k2], *(p2tog, purl to 2 sts before marker, ssp), rpt from * end end of row
Row 12: [k2tog, k3, ssk], *(p2tog, purl to 2 sts before marker, ssp), rpt from * end end of row
Row 13: [k2tog, k1, ssk], *(p2tog, purl to 2 sts before marker, ssp), rpt from * end end of row
Row 14: [sl 1, k2tog, psso], p2tog around until end of row

Rpt p2tog until you have only 3 sts left.
Cut yarn and pull through remaining sts. Weave in ends.


Be sure to check out my other designs here!

Kylen


This pattern was made for a Cystic Fibrosis Raffle at work, mentioned here. I had so much fun designing these, and there's a matching hat pattern coming soon!

MATERIALS:
1 skein (150 yds) of dk weight yarn (I used Malabrigo Arroyo in 855 Aguas)
2 sets dpns in sizes 6 (4.0 mm) and 4 (3.5 mm)
cable needle
tapestry needle
2 stitch markers
crochet hook
scrap yarn


PATTERN:
With crochet hook and larger dpns, do a provisional CO - chain & knit into 24 sts
Begin cable pattern.


CABLE PATTERN:
Row 1: C8B, k4, C8F
Rows 2, 3, 4: k20, purl to end
Row 5: K4, C8F, k8
Rows 6, 7, 8: k20, purl to end
Row 9: K8, C8B, k4
Rows 10, 11, 12: k20, purl to end

Work cable pattern 4 times, ending on row 9 of the 4th repeat.

**It may be helpful to block your cabled work while still on the needles, to make it easier when picking up sts.

With wrong sides facing, use kitchener st to graft two ends of cable together.


With smaller dpns, pick up & knit 42 sts in the round.
Knit four rows.

THUMB GUSSET:
Row 1: k3, pm, k1, m1R, k1, m1L, k1, pm, knit to end of row
Row 2: k all sts
Row 3: k3, sm, k1, m1R, k until 1 st before marker, m1L, k1, sm, knit to end of row
Row 4: k all sts

Rpt rows 3 & 4 until you have a total of 17 sts between the markers.

Next row: k3, remove marker, k1, slip 15 sts onto stitch holder (or scrap yarn), CO 4 sts using backwards loop method, k1, remove marker, knit to end of row.
K all sts until work measures 3" from thumb sts on holder.
Work 1x1 rib (k1, p1) for four rows, then bind off in pattern.
Weave yarn through last st and weave in end.

FINISHING THE THUMB:
With dpns, pick up the 15 sts from holder, 1 st on the side of the thumb, the four CO sts, as well as 1 st on the other side of the thumb (21 sts).
K all sts until thumb measures 1.25" from tip of thumb.
Next row: (k5, k2tog) around (18 sts).
Next row: k all sts
Work 1x1 rib (k1, p1) for 3 rows, then bind off in pattern.
Weave yarn through last st and weave in end.


Be sure to check out my other designs here!

Kylen

Sadly I did not create this coat, nor am I the owner, but you can find out more about the person who took it's picture here .


I like pom poms, Kylen likes pom poms, you like poms poms, WE ALL LIKE POMS POMS. Or if you don't you can leave.

On my pinterest craft board I've noticed that over the years I collected a few pom pom related projects or inspiration pieces.  So today, I share them with you. #pompomfansunite


An awesome tutorial for a huge pom pom accessorized throw by Vintage Revivals


No tutorial attached to this one, but I think it's pretty self explanatory, originally found on this foreign blog called Ing Things Brighten Up My Day 

A fun and simple tutorial for pom pom napkin rings, by Art Bar


The cutest option for covering up a throwaway diaper ever by Feather's Flights

Welp, thats all for now. Keep calm and pom pom on!

Peace and Blessin's.

Caitie


While Kylen has been busy being awesome and knitting, I've been a lazy bum and haven't blogged about a single thing. Shame on me, tsk tsk tsk.  So much for my New Years resolution to stop procrastinating...

Anyways, a few months ago I had the chance to visit Sam in Portland, Oregon over his winter break and stay with him and his family.  I love Portland, I love them, and I love all the delicious food and beer I had while there.  I overheard Sam's mom stressing the importance of thank you cards while I was there, so I decided I'd definitely be sure to send one once I got back to New Jersey.  The below picture is the result of my card making endeavor.


I started out with a simple rectangle card with an outline of the state on it, and then the more I looked at it, the more I realized Oregon has way more potential that just being drawn on a card.  The shape of the state made it easy to create an actual Oregon shaped card, since the top left and top right corners are both flat and higher than the top center of the state, making the perfect opportune hinges.  

Of course not everyone's boyfriend's parents live in Oregon (though they really should because its the PLACE TO BE),  but the concept can be used for most other states. 

Here's a bonus picture of some cool signs in Portlandia:

Peace and blessin's.

Caitie

This is my Bray sweater (pattern by Jared Flood).
I'm super excited about it because I got 13 skeins of this KnitPicks Swish Worsted yarn for $25 total at Knit One's stash sale in September!!!
All the pieces are done, so all I have left to do are blocking, seaming, and picking up and knitting around the neck.
So far I have one side seamed. Can I just tell you how much I despise seaming? A LOT.

Also, remember my toe-up socks from last week's WIP? Well I have done the heel and am about 3" up the leg! It's the perfect small project to carry in my purse.


What are you working on? Has anyone made Bray before?


*Kylen


I've just started some dk weight toe-up socks in preparation for the toe-up class I'll be teaching this summer. They've got a 6-stitch cable, and two twists. I'm excited to see how they turn out!


What are you guys working on?!


Kylen


MATERIALS:
1 skein bulky weight yarn
(I used Classic Elite Yarns: Wynter in 7613 Black)
size 9 needles
crochet hook
scrap yarn
tapestry needle

GAUGE:
6 sts & 5 rows = 1 inch

PATTERN:
Do a provisional cast on (chain 15 sts).
Knit into first 7 sts, turn.
Row 1(RS): k1, *p1, k1.
Row 2(WS): p1, *k1, p1.

Repeat these two rows for a total of 6 rows.
Cut yarn.

With WS facing, knit into last 7 sts on chain.
Work same as first side, for a total of 6 rows.

Now you will be working over both 7 st sections, joining them together.
Row 7 (RS): (k1, p1) 3 times, kfb, k1, (p1, k1) 3 times.
Row 8 (WS): Work in rib patt (k the knits & p the purls).
Row 9 (RS): Work over 7 sts in rib patt, m1R, p1, m1L, work last 7 sts in rib patt.
Row 10 (WS): Same as row 8.
Row 11 (RS): Work over 6 sts, kfb, k1, p1, kfb, work over last 7 sts.
Row 12 (WS): Same as rows 8 & 10.
**You now have a total of 19 sts.

Continue in rib patt until headband measures 15.75," ending on a WS row.

Next row (RS): Work 8 sts in rib patt, k2tog, p1, ssk, work 8 sts.
(WS): Work in rib patt (k the knits & p the purls).
(RS): Work 6 sts, k2tog, p1, ssk, work 6 sts.
(WS): Work in rib patt (k the knits & p the purls).

You will now be dividing the headband into separate pieces, so that it looks the same as the cast-on edge.
(RS): Work 6 sts, k2tog, work 7 sts.
(WS): Work 7 sts, turn.
Row 1(RS): k1, *p1, k1.
Row 2(WS): p1, *k1, p1.

Work for a total of 6 rows, ending with a RS row.
Cut yarn and move to other side, starting on a WS row.
Work for a total of 6 rows, ending with a RS row.
Kitchener these two ends together.

Now take one of the sides at the cast-on edge and put it through the hole at the end of the headband. Loop the symmetrical side around and kitchener them shut. Weave in ends. Ta-da!


This is called Chicago hat because the majority of it was made on my most recent trip to the Windy City. It is a quick and easy knit with a broken rib pattern, and an i-cord tail on top.


MATERIALS:
2 skeins fingering weight yarn in contrasting colors
(I used Baa Ram Ewe Titus in Aire and Classic Elite Mohawk in 3306 Oatmeal)
16" circular needles in sizes 4 (3.5 mm) and 6 (4.0 mm)
double pointed needles in size 6 (4.0 mm)
tapestry needle
stitch marker

PATTERN:
With smaller needles, CO 110 sts using both strands of yarn together
Begin 1x1 rib : *p1, k1 around
Repeat until hat measures 2"

Switch to larger needles and work in a broken rib pattern:
Row 1: k all sts
Row 2: *p1, k1 around

Repeat these 2 rows until hat measures 6.5" ending with row 2

Decrease rows:
Row 1:   *k8, k2tog around
Row 2:   *p1, k1, p1, k1, p1, k1, p1, k2 around
Row 3:   *k7, k2tog around
Row 4:   *p1, k1 around
Row 5:   *k6, k2tog around
Row 6:   *p1, k1, p1, k1, p1, k2 around
Row 7:   *k5, k2tog around
Row 8:   *p1, k1 around
Row 9:   *k4, k2tog around
Row 10: *p1, k1, p1, k2 around
Rpw 11: *k3, k2tog around
Row 12: *p1, k1, k2tog around
Row 13: *k1, k2tog around
Row 14: *k2tog around
Row 15: *k2tog around
Row 16: *k2tog around

You should now have only 3 sts left. Make 1/2" i-cord tail on top of hat, then knot and fold downward to create small loop. Bring end through to inside and weave in ends with tapestry needle.


I was recently asked to donate two items for an auction fundraiser for the Cystic Fibrosis Clinic here in Pittsburgh. I picked out some beautiful Malabrigo Arroyo yarn and have been working on them for a few days! I'm making a hat and matching fingerless mitts. Here's the progress I've made thus far.


What are you working on?

Kylen

I made this tie for my boyfriend as a holiday gift, and I really like how it turned out! I chose the Pale Silver Heather and Dark Heather Gray yarns because I figured they allowed for him to wear it with most of his formal attire. 

The pattern is below. This tie will fit a person of any size. If you would like to make it narrower or wider, change the number of sts accordingly.


MATERIALS
2 skeins DK weight yarn, in different colors (I used Filatura Di Crosa Zara yarn (137 yds) in : 1469 Dark Heather Gray (MC) and 1667 Pale Silver Heather (CC)).
Size 4 (3.5 mm) needles
Crochet hook
20" strand of scrap yarn

For this pattern, you will be using a somewhat difficult technique to knit the tie, called double knitting. Here is a tutorial in case you are unfamiliar.

Use a provisional cast-on with a scrap piece of yarn, knitting into each provisional stitch with both strands of yarn (MC + CC) together. CO 12 sts with both strands, for a total of 24 single sts.
Arrange your sts so that they alternate colors (MC, CC, MC, CC, MC, CC)
Your knits will be one color, and your purls, the other color.
Every row will be: *k1, p1; rpt from * to end of rnd
NOTE : Be sure to twist the two strands of yarn around each other at the end of each row in order to close the gap.

BODY OF TIE
Row 1: k with MC into MC stitch. Bring both strands of yarn to front of needle. P1 with CC into CC stich. Then, bring both strands of yarn to the back, and k1 with MC into MC stitch. Repeat this until the end of the row.
Row 2: k with CC into CC stitch. Bring both strands of yarn to front of needle. P1 with MC into MC stich. Then, bring both strands of yarn to the back, and k1 with CC into CC stitch. Repeat this until the end of the row.

*Repeat these two rows five times.*

Row 11: You will now be doing a stripe of the opposite color. Where you usually knit with the MC, you'll knit with the CC, and vice versa. So, k with CC into MC stitch. Bring both strands of yarn to front of needle. P1 with MC into CC stich. Then, bring both strands of yarn to the back, and k1 with CC into MC stitch. Repeat this until the end of the row.

Row 12: Knit with MC into MC st and with CC into CC st, as you did in rows 1-10.

Row 13: k with MC into CC stitch. Bring both strands of yarn to front of needle. P1 with CC into MC stich. Then, bring both strands of yarn to the back, and k1 with MC into CC stitch. Repeat this until the end of the row.

Row 14: Knit with MC into MC st and with CC into CC st, as you did in rows 1-10.

*Repeat these 14 rows until tie measures 57-60", depending on the height of the individual.*

POINT OF TIE
Divide sts onto two dpns
Instead of double knitting, knit these sides separately.

Row 1: Needle 1 (with MC)- k1, ssk, k until last 3 sts, k2tog, k1. Repeat on Needle 2 with CC. Then, twist strands together before next rnd.
Row 2: Needle 1 (with MC) - purl all sts with MC. Repeat on Needle 2 with CC. Then, twist strands together before next rnd.

Repeat these two rows until you have only four stitches left on each needle.
Next row: k2tog twice on each needle.
Next row: k2tog
Next row: knit the last two sts together.
Last row: knit together last stitch from both needles.
Cut yarn and thread through remaining st.

FINISHING
Take out provisional cast-on at beginning of tie and use Kitchener stitch to graft the sts together.

Cut yarn and weave in ends. Block.


Feel free to comment with questions!

Kylen


A friend and I are doing a knit-a-long with the Short Row Sweater from purlbee.com. I am using Berroco Fiora in Buford  (3818).

I am knitting size M/L, while also lengthening it as I go. I'm a little worried for the end product since this yarn is 40% cotton and has the potential to stretch. But fingers crossed!

It's a lot of stockinette, but the wrap and turns each row keep things interesting. It has a very interesting construction which I cannot wait to do! This is a great project to do while in front of the TV. (I've been knitting it on the bus). I am about 75 % of the way to the armholes!
Check back in the upcoming weeks to see my progress.

What are you guys working on?


Kylen
Here are my January pinterest picks! Be sure to click on the links (above each picture) to see where they're from!


7. place to travel (Amsterdam)


Enjoy!!


Kylen

Growing up and being an adult (in my mind) means preparing my own meals rather than getting takeout or pre-packaged foods. This proves to be quite difficult because many recipes require spices, or other ingredients, that I can't even pronounce. Not to mention, spices are expensive! You can avoid this, however, by finding recipes that only require a few ingredients.


Guacamole has to be one of my favorite foods. Ever. Luckily, it is easy to make with only a few ingredients! This is a very basic, yet delicious recipe. Feel free to add different spices or other ingredients to make it your own!


You'll need:
3 or 4 ripe avocados
1 small red onion
1/2 or 1 whole lime

Cut the avocados in half, take out the pit, and use a spoon to scoop out its entirety. Mash them in a large mixing bowl. Chop the red onion into small pieces, and add to the bowl. Lastly, cut the lime and add as much lime juice as you'd like. Mix it all together, and voila!

Tip: in order to prevent your guacamole from turning brown, place the pits back in the bowl with the guac!


Let me know what you think!
Kylen


Bringing in the New Year means making resolutions. Some that we end up keeping, and some that we don't. Knitting however, is a resolution you should make and keep this year. Here's why.

Knitting is portable.
You know those times when you're bored out of your mind stuck in the waiting room at your doctor's office? Yeah. Well, you could be doing something productive instead of wasting precious time. You could be knitting a hat for your friend, or for yourself, or for your dog! It's up to you! Don't like football? Me neither. During the super bowl, you can both knit and eat snacks while everyone is yelling at the TV. It's just great.

Hand-knits make great gifts.
I bet you that almost everyone likes handmade things. Almost all of my holiday gifts this year are handmade. Not only do you save money this way, but you also tend to get great responses. When someone receives a hand-knit item, they know that you put a lot of time and effort into the gift.

It's good for your health! 
Check out this article!

Knitters are the nicest.
No, but seriously. They are.

There's a cool history behind it.
Knitting used to be a man's trade, but eventually became something that women did in order to provide clothing for their families. Now, all kinds of people are knitting! If you're into learning more about the history of knitting, I'd recommend reading No Idle Hands: The Social History of American Knitting by Anne MacDonald.

It can be art/used for political protest!
There are so many cool projects that have gone on recently, including Pittsburgh's own Knit the Bridge project! I've also seen yarn-bombing all over the place, and making statements about social issues as political protest.

You will never be alone.
There are yarn stores everywhere. The knitting group I belong to on facebook has 32,597 members right now. Ravelry.com has 4 million members. If you ever need help, you're not alone.

What are your New Year's resolutions? Let me know!
Kylen

I work at an awesome yarn store that has 6 comfy couches, lots of free coffee, snacks, and some of the best people I know. These are the things I have learned from working there.

1. Always knit a swatch to check your gauge if you are knitting a fitted garment. 
If you knit an entire sweater and it doesn't fit, you are going to be one sad knitter. (I seem to have learned this from past mistakes).

2. Blocking is a must for certain projects: especially clothing, anything with a lace pattern, ribbed hand-knits. 
Sometimes I will finish a project and be really disappointed with the outcome. Perhaps a lacy hat is scrunching up a bit. So I block it, and everything is ok again.

3. You know when your parents told you that "The best way to learn is by making mistakes"? Well, I hate to say it, but they were right.
If you rely on your instructor to teach you everything, it will be harder for you to figure things out on your own later on. I learned almost everything from my Knitter's Bible and it has molded me into someone who figures things out on her own. You won't be a professional knitter as soon as you pick it up, so let yourself make mistakes, then fix them. You will learn so much more.

4. There are two types of knitters: type A and type B. I'm 80% type B. 
Don't get me wrong, I love to produce aesthetically pleasing hand-knits, but I do not obsess over the small mistakes. They add character anyway! However, over the years, I've learned that it is challenging and fun to rip things out and start over, so in that sense, I'm type A. As you become a more experienced knitter, challenging yourself becomes fun. (In case you're not there yet, that is the moment when you start to make your way into knitting nerd status).

4b. As a type B knitter, it is very difficult to teach type A knitters. 
My response when someone asks how they proceed is usually "I don't know, why don't you just wing it?" Type A knitters HATE this. Oops, sorry.

5. You will meet some of the best people by being part of a knitting community. 
Some of my favorite people in this city are ones I have met at the yarn store. Everyone has been so welcoming and appreciative of my help while I'm working at the store. If you don't have a regular store you go to, find one. You'll be amazed by the kindness that this breed of humans offers.

Keep knittin'!
Kylen


Do I think the word anniversary sounds stuffy and formal? Yes.  Do I believe spending 365 days together with someone deserves some recognition and should have its own word? Probably.  So I'll continue to use the word anniversary even though it kills me a little inside and I feel the need to say it in a weird voice to make it sound not so serious.

With those issues aside, Sam is out in Portland, Oregon with his family for winter break, and our one year anniversary happens to be while we're 2,427 miles apart.  In my attempt to be clever, I decided to send him a brownie pizza with peanut butter frosting  in a pizza box to surprise him! Too bad as soon as I finished making it he texted me making me promise I wasn't sending him anything for our anniversary...woopsssss.  But honestly, I don't think he'll be upset when he gets this in the mail.


Making this sweet pizza (l-o-l at my pun) was actually pretty simple. The only think I didn't have around my house was the disposable foil pizza pan with a small lip to it, and I was able to pick up a pack of 3 of them from my grocery store for $3.

I used my mom's usual brownie recipe from the back of the chocolate chip bag, which I'll post down below, and poured all the batter that I could fit into the pizza pan.  I placed the pan onto a cookie tray just so it'd be easier to get in and out of the oven without spilling.  The bit of leftover batter I had I poured into a small glass baking dish to make a few extra brownies.

I cut down the sugar in the recipe by about a 1/4 cup to account for the super sweet icing I was putting on top, and also cut the baking time from 50 minutes to 25 on account of how thin the brownie "pizza crust" is compared to a normal brownie.


I made the peanut butter icing (the recipe is below, PS I CAME UP WITH MY OWN RECIPE; BE PROUD OF ME) while I let the brownie cool.  Once it reached room temperature, I then decorated it and iced it how I wanted.

As for the actual decorating of the inside of the pizza box, I just went crazy with my craft supplies to create the sunburst background and the heart with the tinfoil "1" on it.  I used a white square of poster board the size of the inside of the box lid as my base so I didn't have to craft directly onto the lid.  I used basic construction paper to make the stripes of color, and my trusty Crayola water colors to fill in the white spaces. It would've been cool to print out some photos of me and Sam and thrown them in there somehow, but alas, I am lazy.  I used Elmer's glue to stick my creation to the lid of the box.

^Some of my craft supplies chillin' on the table (I didn't end up using that gold rikrak).

Figuring out a way to keep my brownie safe and unsmushed on its journey across the country was probably the biggest challenge. I ended up putting three "pizza tables" (those little things that come on top of your pie so the lid doesn't smoosh into the pizza), on the brownie and then placed one of my extra disposable tin pizza pans on top of them.  My brownie pizza was then in a safe tin pan sandwich which I thoroughly plastic wrapped and taped together, with added tinfoil for safety.


To make sure the tin hockey puck didn't slide around on its journey, I taped it to the bottom of the box and then shoved tissue paper into the corners.  I added pipe cleaner hearts and a note for #romance.

The whole point of using this pizza box was because I thought it'd be pretty hilarious to get one in the mail, so I left the outside of the box just the way it was.  I only added the address on a white notecard and then taped the whole thing up.  

And that my friends is how you send a pizza brownie in the mail.  However, I should warn you it may or may not have cost 20 dollars to send, but in my book it's worth it.  Anyways, here are the recipes:

Brownie Crust Recipe (adapted from the Shop Rite chocolate chip bag) :
1 1/2 Cups Unsifted Flour
1 Teaspoon Baking Soda
1 1/4 Cups Granulated Sugar
2/3 Cup Butter
4 Eggs
1/4 Cup Water
2 Teaspoons Vanilla
1 Teaspoon Salt
2 Cups of Chocolate Chips
1/4 Cup of Chocolate Chips to Sprinkle

Preheat oven to 325 degrees.  Combine flour, salt, and baking soda.  Set aside.  Combine sugar, shortening and water in a saucepan and bring to a boil.  Remove from heat.  Add chocolate chips and vanilla, stirring until smooth.  Transfer to mixing bowl and let it cool for 5 minutes.  One at a time, beat in the eggs.  Gradually add the flour mixture.  Place greased tin pizza pan onto a cookie sheet to stabilize it.  Pour batter into tin pizza pan. Pour any remaining batter into your choice of pan.  Cook for approximately 25 minutes.  Cool.

Peanut Butter Icing:
2 Cups of Confectioner's Sugar
3/4 Cup Butter
1/4 Cup Jiffy Peanut Butter
3/4 Natural Peanut Butter*

*I chose to use mostly natural peanut butter to cut down on the sugar and make it more peanut buttery than sugary. The final product is plenty sweet I promise.

Warm butter in microwave until above room temperature and somewhat melted. Combine butter and peanut butters in mixer until smooth.  Add in powder sugar gradually. Done.

Peace and blessin's.

Caitie

P.S.  He got it in the mail!


(Quotes in speech bubble may or may not be exaggerated)
Powered by Blogger.