At the moment I'm working on a pair of men's ribbed socks for my guy! I'm using Cascade Heritage yarn, and love the tweedy look. I am currently on the second sock, and making great progress; also thinking of putting this simple pattern on ravelry for all my fellow sock knitters. 


Cheers!
Kylen

I am currently knitting Togue Pond by Pam Allen in preparation for a 3-part class I'll be teaching this summer! I am using Rowan's Cotton Lustre which is a joy to knit with! It looks like ribbon and is so soft. 


Are you knitting anything summery?!


Kylen


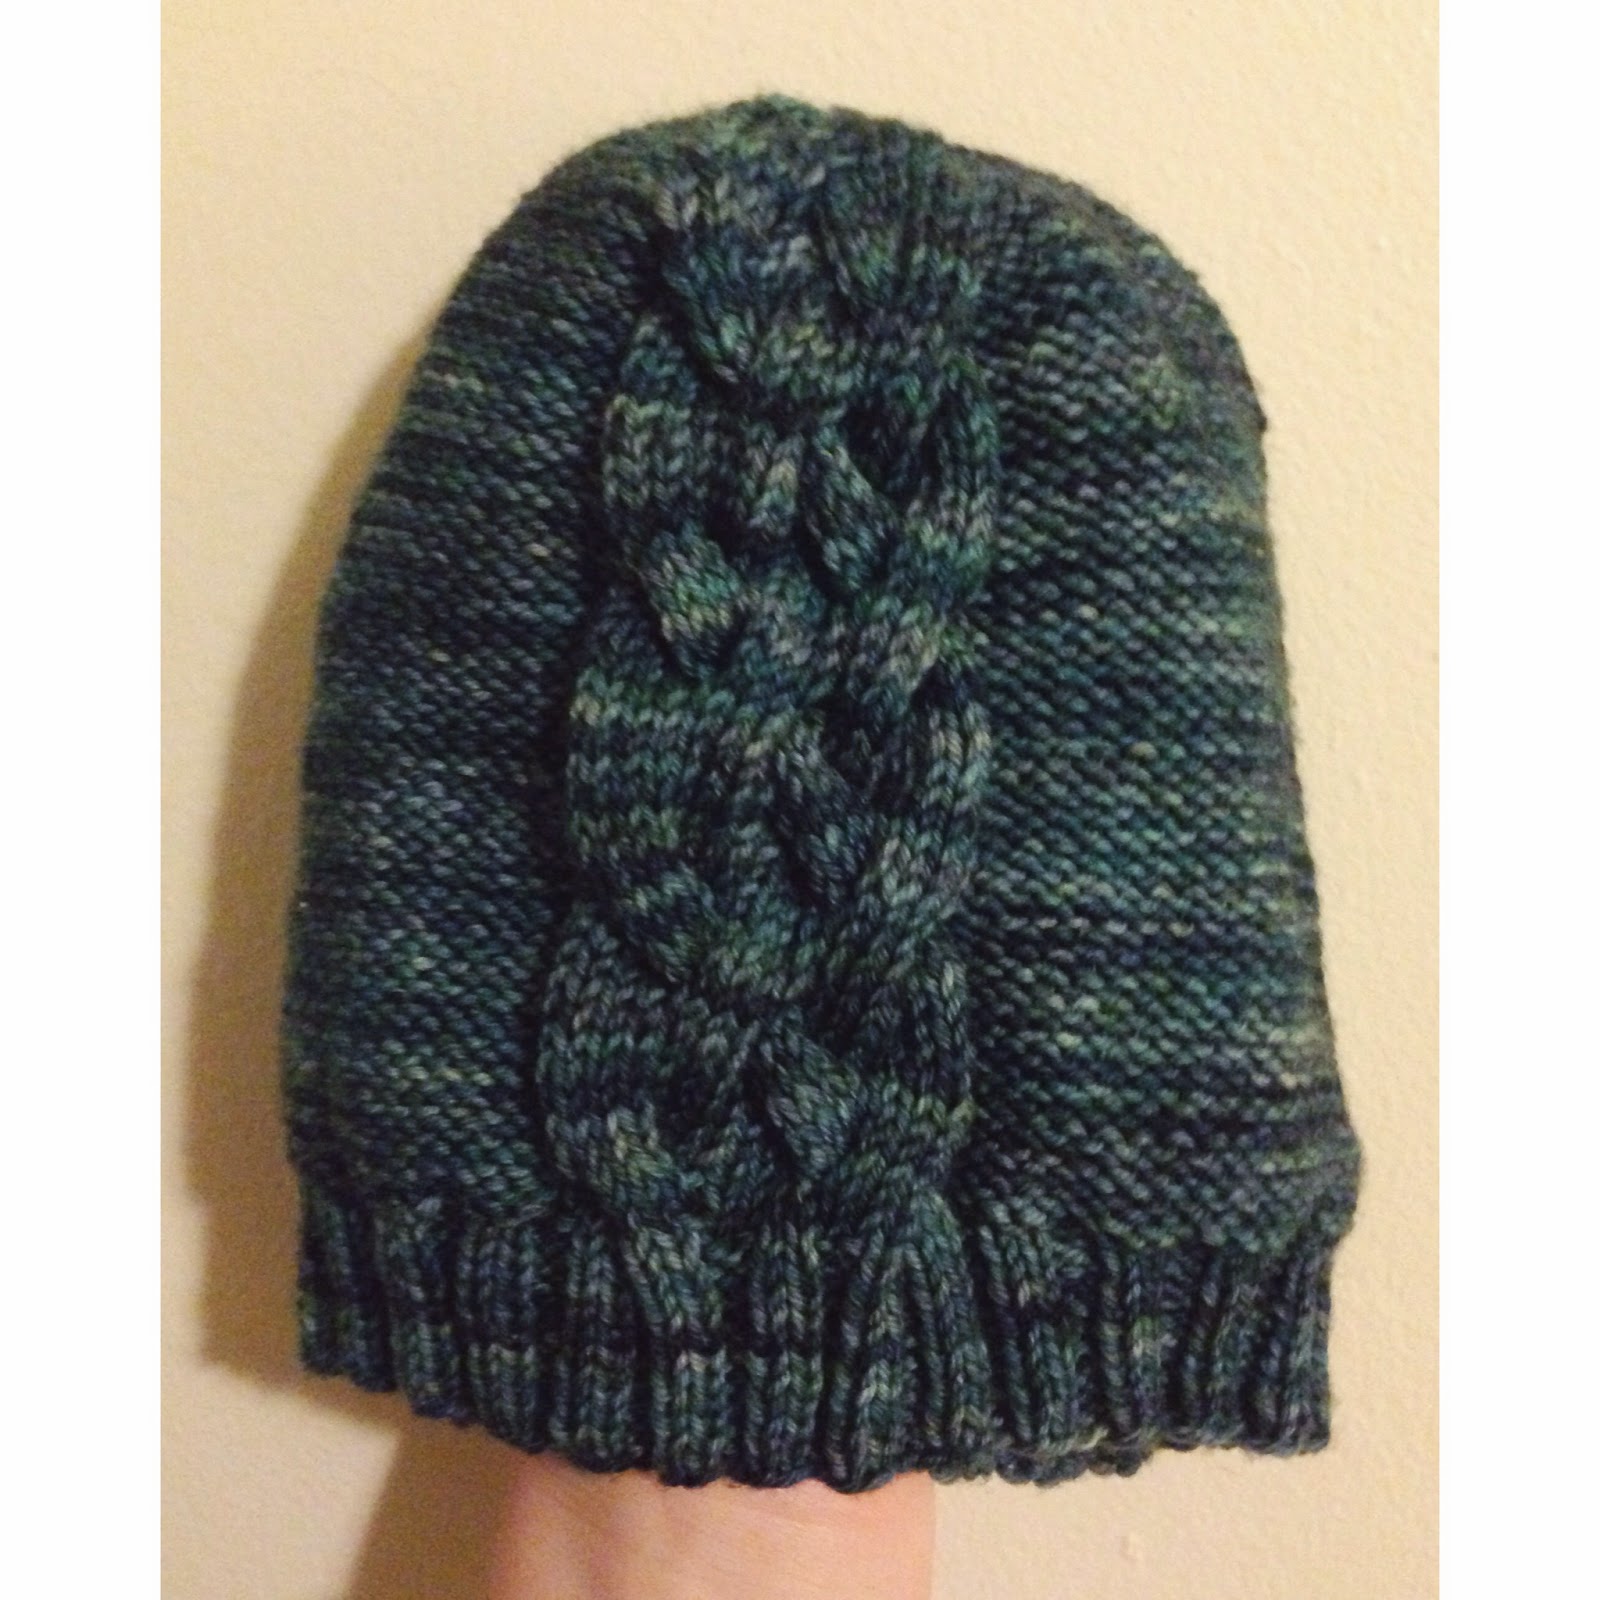
This hat matches these fingerless mitts. It was also raffled off to raise money for Cystic Fibrosis. I love the five-stranded braided cable! Fits like a beanie.

MATERIALS:
1 skein (150 yds) of dk weight yarn (I used Malabrigo Arroyo in 855 Aguas)
16" circular needles, sizes 4 (3.5 mm) and 6 (4.0 mm)
1 set dpns in size 6 (4.0 mm)
cable needle
tapestry needle
2 stitch markers

PATTERN:
With smaller circular needles, CO 108 sts and join in round
Work in 2x2 rib (k2, p2 around) until work measures 1.25"
Switch to larger circular needles, placing a stitch marker to mark the beg of row
Next row: k12, m1, k8, p4, m1 *(p12, m1), repeat from * until end of row (117 sts)
K 20 sts, pm, purl to end of row
Your cable pattern will be worked over the first 20 sts of the row, between the stitch markers

CABLE PATTERN:
Row 1: C8B, k4, C8F
Rows 2, 3, 4: k20, purl to end
Row 5: K4, C8F, k8
Rows 6, 7, 8: k20, purl to end
Row 9: K8, C8B, k4
Rows 10, 11, 12: k20, purl to end

Work cable pattern 3 times.

DECREASE: cable decreases are in [ ]
Place 6 markers on hat so that stitches are divided as follows: 20, 19, 20, 19, 20, 19.
**Use a different colored marker for the beginning of your row.
Row 1: [C8B, k4, C8F], purl until end of row
Row 2: [k2tog, k16, ssk], *(p2tog, purl to 2 sts before marker, ssp), rpt from * to end of row
Row 3: [k18], purl until end of row
Row 4: [k3, k2tog, k8, ssk, k3], *(p2tog, purl to 2 sts before marker, ssp), rpt from * end end of row
Row 5: [k3, place 3 sts onto cn, hold front, k4 from left needle, knit 3 from cn, k6], purl until end of row
Row 6: [k2tog, k3, k2tog, k7, ssk], *(p2tog, purl to 2 sts before marker, ssp), rpt from * to end of row
Row 7: [k13], purl until end of row
Row 8: [k5, k2tog, k2, ssk, k2], *(p2tog, purl to 2 sts before marker, ssp), rpt from * to end of row
Row 9: [k4, place 3 sts onto cn, hold front, k2 from left needle, knit 3 from cn, k2], purl until end of row
Row 10: [k2tog, k7, ssk], *(p2tog, purl to 2 sts before marker, ssp), rpt from * end end of row
Row 11: [k3, k2tog, k2tog, k2], *(p2tog, purl to 2 sts before marker, ssp), rpt from * end end of row
Row 12: [k2tog, k3, ssk], *(p2tog, purl to 2 sts before marker, ssp), rpt from * end end of row
Row 13: [k2tog, k1, ssk], *(p2tog, purl to 2 sts before marker, ssp), rpt from * end end of row
Row 14: [sl 1, k2tog, psso], p2tog around until end of row

Rpt p2tog until you have only 3 sts left.
Cut yarn and pull through remaining sts. Weave in ends.


Be sure to check out my other designs here!

Kylen


This pattern was made for a Cystic Fibrosis Raffle at work, mentioned here. I had so much fun designing these, and there's a matching hat pattern coming soon!

MATERIALS:
1 skein (150 yds) of dk weight yarn (I used Malabrigo Arroyo in 855 Aguas)
2 sets dpns in sizes 6 (4.0 mm) and 4 (3.5 mm)
cable needle
tapestry needle
2 stitch markers
crochet hook
scrap yarn


PATTERN:
With crochet hook and larger dpns, do a provisional CO - chain & knit into 24 sts
Begin cable pattern.


CABLE PATTERN:
Row 1: C8B, k4, C8F
Rows 2, 3, 4: k20, purl to end
Row 5: K4, C8F, k8
Rows 6, 7, 8: k20, purl to end
Row 9: K8, C8B, k4
Rows 10, 11, 12: k20, purl to end

Work cable pattern 4 times, ending on row 9 of the 4th repeat.

**It may be helpful to block your cabled work while still on the needles, to make it easier when picking up sts.

With wrong sides facing, use kitchener st to graft two ends of cable together.


With smaller dpns, pick up & knit 42 sts in the round.
Knit four rows.

THUMB GUSSET:
Row 1: k3, pm, k1, m1R, k1, m1L, k1, pm, knit to end of row
Row 2: k all sts
Row 3: k3, sm, k1, m1R, k until 1 st before marker, m1L, k1, sm, knit to end of row
Row 4: k all sts

Rpt rows 3 & 4 until you have a total of 17 sts between the markers.

Next row: k3, remove marker, k1, slip 15 sts onto stitch holder (or scrap yarn), CO 4 sts using backwards loop method, k1, remove marker, knit to end of row.
K all sts until work measures 3" from thumb sts on holder.
Work 1x1 rib (k1, p1) for four rows, then bind off in pattern.
Weave yarn through last st and weave in end.

FINISHING THE THUMB:
With dpns, pick up the 15 sts from holder, 1 st on the side of the thumb, the four CO sts, as well as 1 st on the other side of the thumb (21 sts).
K all sts until thumb measures 1.25" from tip of thumb.
Next row: (k5, k2tog) around (18 sts).
Next row: k all sts
Work 1x1 rib (k1, p1) for 3 rows, then bind off in pattern.
Weave yarn through last st and weave in end.


Be sure to check out my other designs here!

Kylen

Sadly I did not create this coat, nor am I the owner, but you can find out more about the person who took it's picture here .


I like pom poms, Kylen likes pom poms, you like poms poms, WE ALL LIKE POMS POMS. Or if you don't you can leave.

On my pinterest craft board I've noticed that over the years I collected a few pom pom related projects or inspiration pieces.  So today, I share them with you. #pompomfansunite


An awesome tutorial for a huge pom pom accessorized throw by Vintage Revivals


No tutorial attached to this one, but I think it's pretty self explanatory, originally found on this foreign blog called Ing Things Brighten Up My Day 

A fun and simple tutorial for pom pom napkin rings, by Art Bar


The cutest option for covering up a throwaway diaper ever by Feather's Flights

Welp, thats all for now. Keep calm and pom pom on!

Peace and Blessin's.

Caitie


While Kylen has been busy being awesome and knitting, I've been a lazy bum and haven't blogged about a single thing. Shame on me, tsk tsk tsk.  So much for my New Years resolution to stop procrastinating...

Anyways, a few months ago I had the chance to visit Sam in Portland, Oregon over his winter break and stay with him and his family.  I love Portland, I love them, and I love all the delicious food and beer I had while there.  I overheard Sam's mom stressing the importance of thank you cards while I was there, so I decided I'd definitely be sure to send one once I got back to New Jersey.  The below picture is the result of my card making endeavor.


I started out with a simple rectangle card with an outline of the state on it, and then the more I looked at it, the more I realized Oregon has way more potential that just being drawn on a card.  The shape of the state made it easy to create an actual Oregon shaped card, since the top left and top right corners are both flat and higher than the top center of the state, making the perfect opportune hinges.  

Of course not everyone's boyfriend's parents live in Oregon (though they really should because its the PLACE TO BE),  but the concept can be used for most other states. 

Here's a bonus picture of some cool signs in Portlandia:

Peace and blessin's.

Caitie

This is my Bray sweater (pattern by Jared Flood).
I'm super excited about it because I got 13 skeins of this KnitPicks Swish Worsted yarn for $25 total at Knit One's stash sale in September!!!
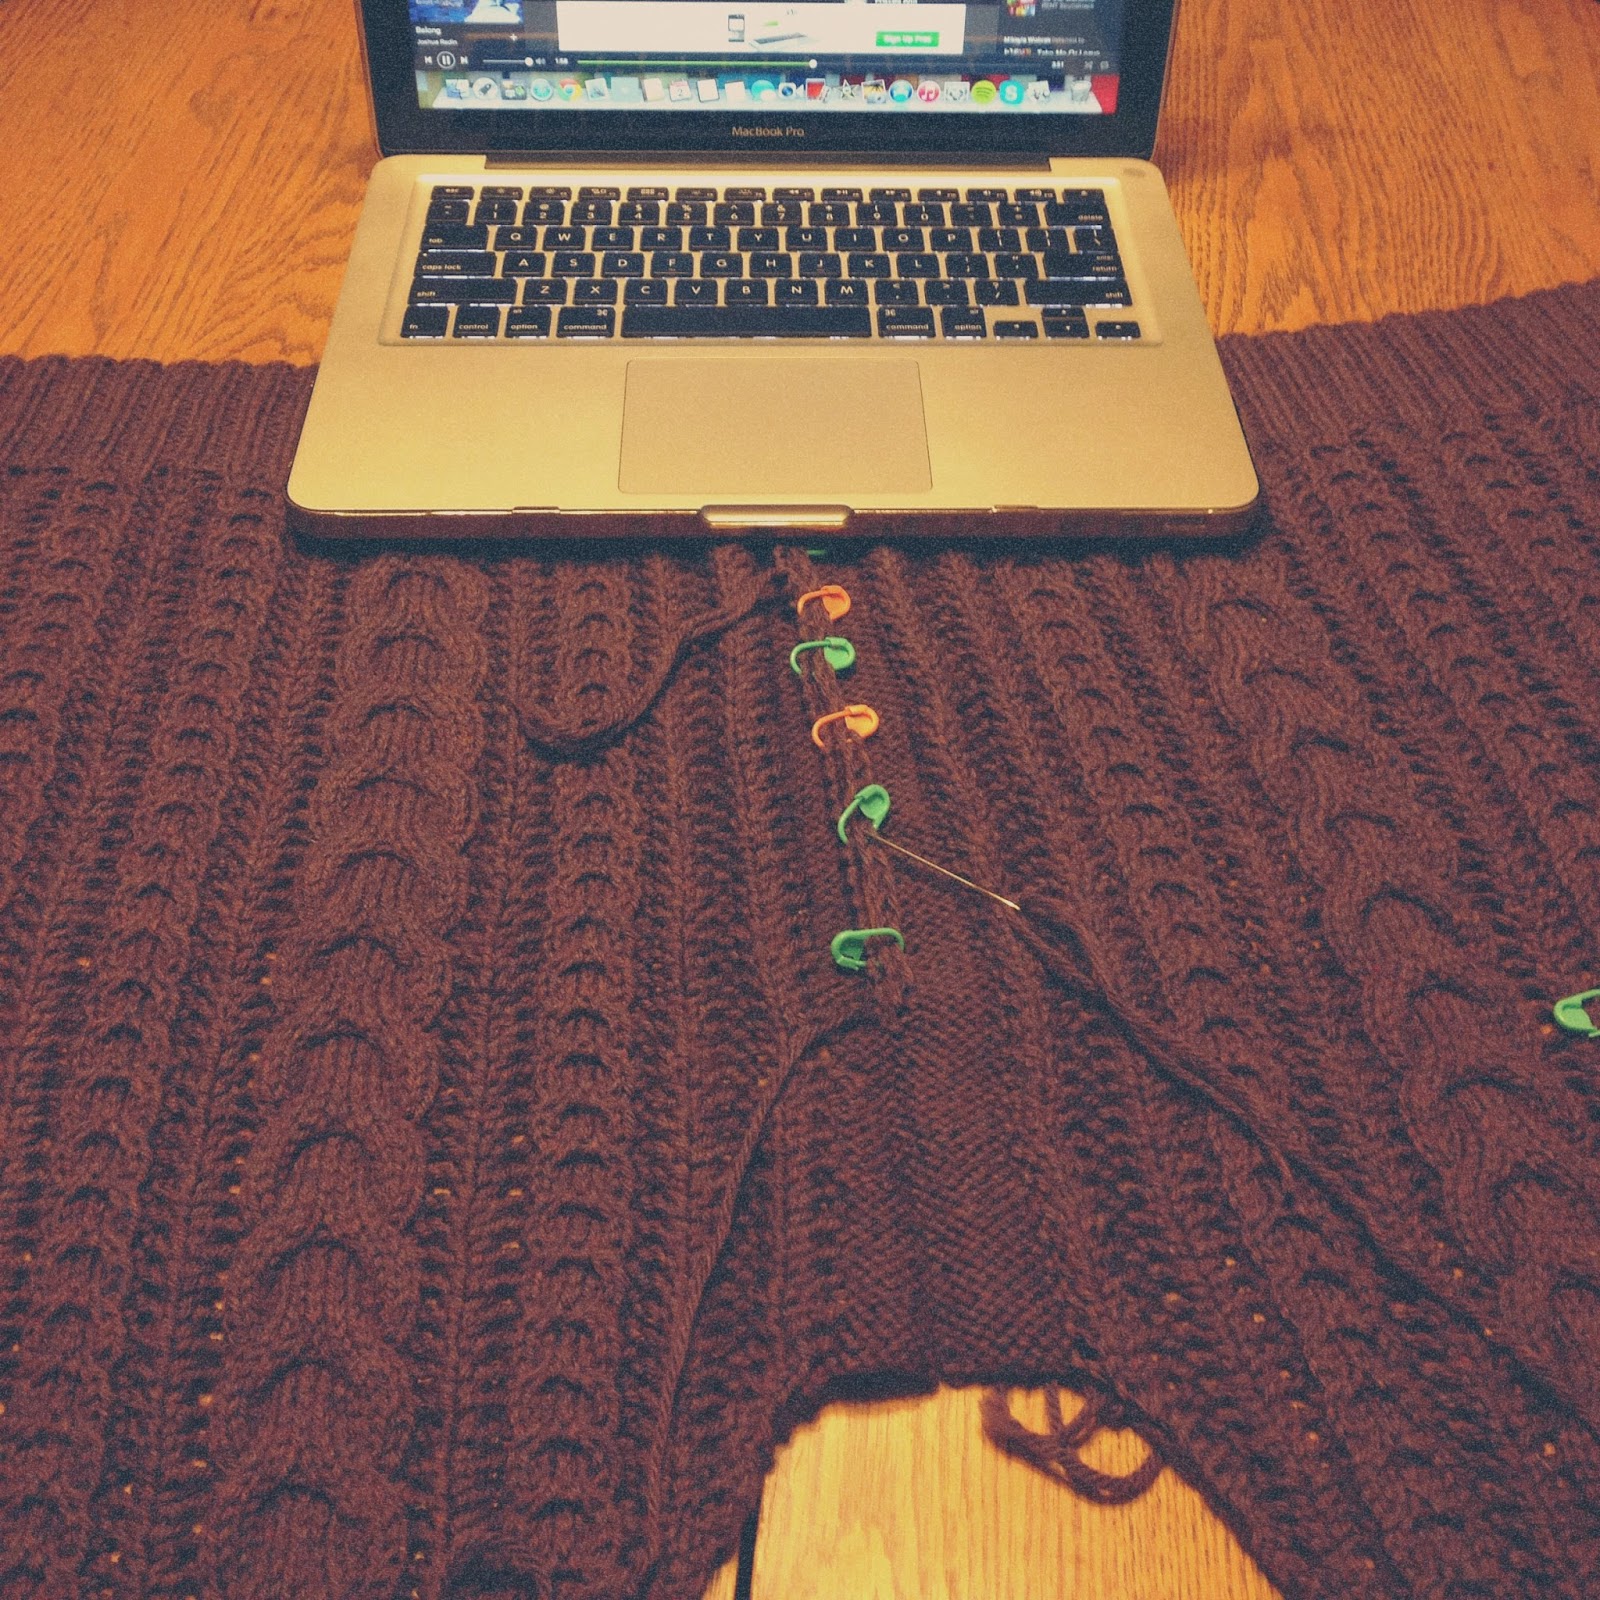
All the pieces are done, so all I have left to do are blocking, seaming, and picking up and knitting around the neck.
So far I have one side seamed. Can I just tell you how much I despise seaming? A LOT.

Also, remember my toe-up socks from last week's WIP? Well I have done the heel and am about 3" up the leg! It's the perfect small project to carry in my purse.


What are you working on? Has anyone made Bray before?


*Kylen
Powered by Blogger.